Visit the whole site at: http://borg20011.tripod.com/borg_link_o_rama.htm

Page 3.
Nitrous tuning and info:
Info gathered talking/writing/surfing on the net; if you find anomalies or inexact stuff,
feel free to send me a corrective notice.
Note: This is the exact setup I have on my bike down to the last detail.
To begin with, there is no problems running nitrous on a high-compression motor;
in fact, the nitrous will prevent over-heating problems at high revs!
The NOS has also an inherent anti-knock capability.
Note: When using nitrous for high-speed runs, DO NOT rev the engine into the stock rev limiter.
Power gain chart relative to your choice of nitrous (N) and fuel (F) jets:
| NITROUS JET |
FUEL JET NOS PUMP |
FUEL JET HI-OUTPUT PUMP |
HP GAIN/ per cyl. |
HP GAIN/ 2-cyl. |
HP GAIN/ 4-cyl. |
|---|---|---|---|---|---|
Note: For stock motors, do not go over the 60hp shot.
If your motor compression is stock, use above stock figures.
If running a 13.5:1 compression ratio, try N16-F20 as a base line;
If the bike dies when getting on the nitrous, go one size fuel jets lower at a time.
Refer to the nitrous section for info sites.
Bottle pressures relative to outside temps:
Note: Best performances/gains are achieved with a bottle pressure between 1000psi and 900psi.
Bottle Degrees F----------------Bottle
pressure (psi)
-30
167
-20
203
-10
240
0
283
10
335
20
387
32
460
40
520
50
590
60
675
70
760
80
865
97
1069
As you can see, best pressures/performances are reached when a full bottle temperature is at around 90
degrees F. This is not outside ambient temp, but bottle temp.
Warning:
Lower bottle pressure will create a rich condition which is not harmful to the engine;
Higher bottle pressure (over 1000psi) induced by heat will create a lean condition which
can damage the engine; You can use a pressure gauge to monitor this, as well as a purge kit
to get the best pressure all the time.
Plug gap changes:
If running a 50hp shot: Decrease gap by 0.004;
If running a 60hp shot: Decrease gap by 0.005.
Bottle mounting:
There are 2 ways to mount the bottle:
1- With the siphon tube
2- Without the siphon tube
Note: There is no real other place to mount the bottle than inside the trunk.
#1: With the siphon tube
With the siphon tube, you are limited in space on a R1; There is always the problem of which way the siphon
tube is pointing (my problem) as well as location of the valve; here is a way to mount it (Thanks Lonnie) but
it will probably require a bit of plastic cutting, and it will probably mean fabricating some kind of cushion since
the bottle will hit/rub against the frame; make sure to build a floating bracket or cushion the space between
the bottle and the undertail, or plastic will give up somewhere; also, if mounting the bottle this way, you may
run into problems if you want to use a bottle pressure gauge; adaptors mount directly onto the bottle taking
more space; but you can open up the bottle and relocate the siphon tube!
Note: My bottle is mounted at a 45 degrees angle in the trunk compartment on a floating bracket;
siphon tube location is then crucial. (Well, not that crucial, but fumes don't make as much power as pure
liquid nitrous and you can be limited by the stiffness of the braided line hose coming out of the bottle)
Additional note: I've recently discovered that the siphon tube can be re-oriented by removing the bottle valve
and turning it!
#2: Without the siphon tube
Keep in mind that when using nitrous, you will accelerate very hard so think about where most of the liquid
nitrous will go: At the bottom! But since you decided to remove the siphon tube, the new bottom is the valve
side! The old bottle bottom becomes the top now!
Note: This is for those who want to fix the bottle upside down on the bike; can be used also if there is no space INSIDE the bike to mount it with the valve toward the front of the bike, or if opening the bottle when mounting another way would be next to impossible without the removal of the bottle.
Foggers location/installation:
Usually, the foggers should be installed into the rubber boots between the carbs and the head;
but on the R1, there's just no space! I've been told to install them in the stock rubber velocity stacks, but
that installation, in my opinion, is absolutely not the optimal location!
Not only they will move, but there's also a danger of nitrous backfires present at all times;
That could lead to a blowing-out of the bodywork! (read tech info in nitrous section)
The best way would be to drill and tap the carbs bodies...Still want to have nitrous???
I do have my foggers installed on the bottom of my air box, but I do not have the rubber
velocity stacks anymore (I'm running shorter stacks that do not protrudes into the box)
but I'm seriously considering the drill and tap solution!
There's always the longest stacks sold by FACTORY in which you can drill and tap;
Don't worry, it wont affect the stream of air.
Note: If there is enough space, that is exactly what I will do next spring (carburetors drill and tap).
Additional note: The nitrous/fuel fog should benefit from the added venturi effect
the closer it is to the manifold.
Timing:
Now opinions differ slightly between tuners;
Some will say that you have to retard ignition by 2 degrees for each 50hp nitrous increments;
Others say that the following chart can be used: Consult a reputable nitrous tuner before!
Up to 100hp: You can use stock timing
100hp to 150hp: retard by 2 degrees
150hp to 200hp: Retard by 4 degrees
200hp to 325hp: Retard by 6 degrees
325hp and up: Retard by 8 degrees
Note: Those figures are for drag racing; if, like me, you will use the system only while accelerating on
roll-ons, the stock advancer will be fine (max. 60 hp shot); do not run advancers; some say that you
should run 1 degree of retard at every 10 hp shot increments...but this is mostly for dragracing...just dont do
prolonged runs.
If you have one, get rid of it.
Additional costs related to nitrous:
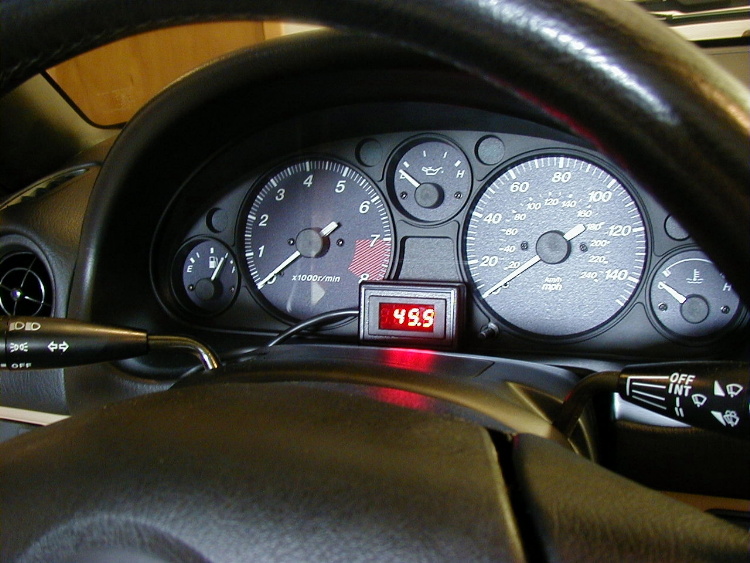
To be on the safe side, (Let be realistic) an air/fuel gauge is a must; there is one particular model
that I'll get, it has a safety nitrous system shut-off feature in case the mixture is too lean:
Get it from SPEEDSHOP.ORG.
Note: A purge valve kit would be really intimidating if you ever encounter a victim on the road;
sending a plum of white gas flying in the air will surely get his attention!
(And keep that bottle pressure under check-max 1050psi, min 750psi)
Various answers to typical questions:
There you go...
http://www.therangerstation.com/
Nitrous kit parts summary:
This is a list of what you should use to go fast and be safe (you and your motor):
-Basic nitrous kit #3008 (NOS)
Add-ons:
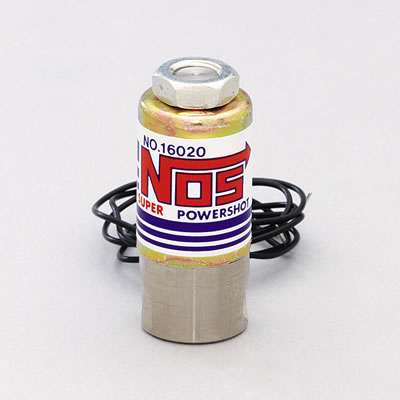
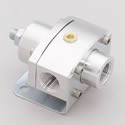
-Fuel and nitrous filters (To prevent solenoids to stick open-the size is -4an/0.25" for my setup)
although the solenoids from Dynotune (SPEEDSHOP.ORG) come with them built-in!
-Nitrous pressure gauge (To keep the bottle pressure under 1050psi/over 750psi) 1 2
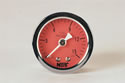
-Fuel pressure safety switch (You do not want to run low fuel pressures while on the boost)
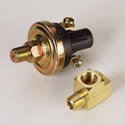
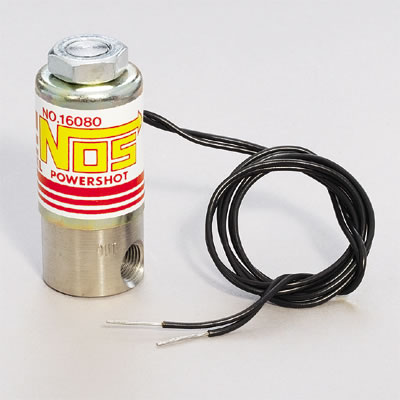
-Purge switch/solenoid (You want liquid nitrous all the time at the solenoid for maximum bang)
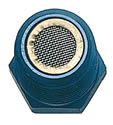
-Air/fuel ratio gauge (Check other topics for my choice)
-Note: You do not want to run into the limiter with the nitrous on!
Get anal about safety:
Add a second set of solenoids (both) in case the first set get stuck. 1 2
THAT SHOULD DO IT!
If using a bigger than 60hp shot:
For drag racing purposes, you may want to add a fuel pressure regulator, progressive nitrous controller
and a few other things that I won't get into here; drag racing is not my goal, and it's a whole new world
completely unknown to me anyways.
SPRING 03:
Dyno charts, installation pics (THOSE WILL COME SOON) and wiring diagrams so you should not get the headaches I got.